How to Plan a Rain Garden
How to Plan a Rain Garden
As a business owner or property manager, maintaining your property and ensuring it looks attractive and well-managed falls to you. But, as cities grow and development spreads, some corporations, and homeowners are turning toward more sustainable water runoff methods, ways to promote native plant ecosystems, and other green landscaping methods.
Understanding how to plan a rain garden is one way to help protect the environment while adding value to your property. Whether you build a rain garden as a DIY project or hire a professional landscaper, rain gardens are not only environmentally friendly and a great way to include moisture-loving plants into your landscape, but they’re also a great natural and beautiful addition to any property.
What is a Rain Garden?
A rain garden is a landscaping feature that helps to reduce the amount of standing water and rainwater runoff from your property that flows into nearby rivers and lakes. It’s a sustainable way to manage water on your property, with the added benefits of attracting bees, butterflies, and birds to your property.
Native Minnesota Plants That Are Great For Rain Gardens
If you’re living or working in Minnesota, there are plenty of native plants that you can use in your rain garden.
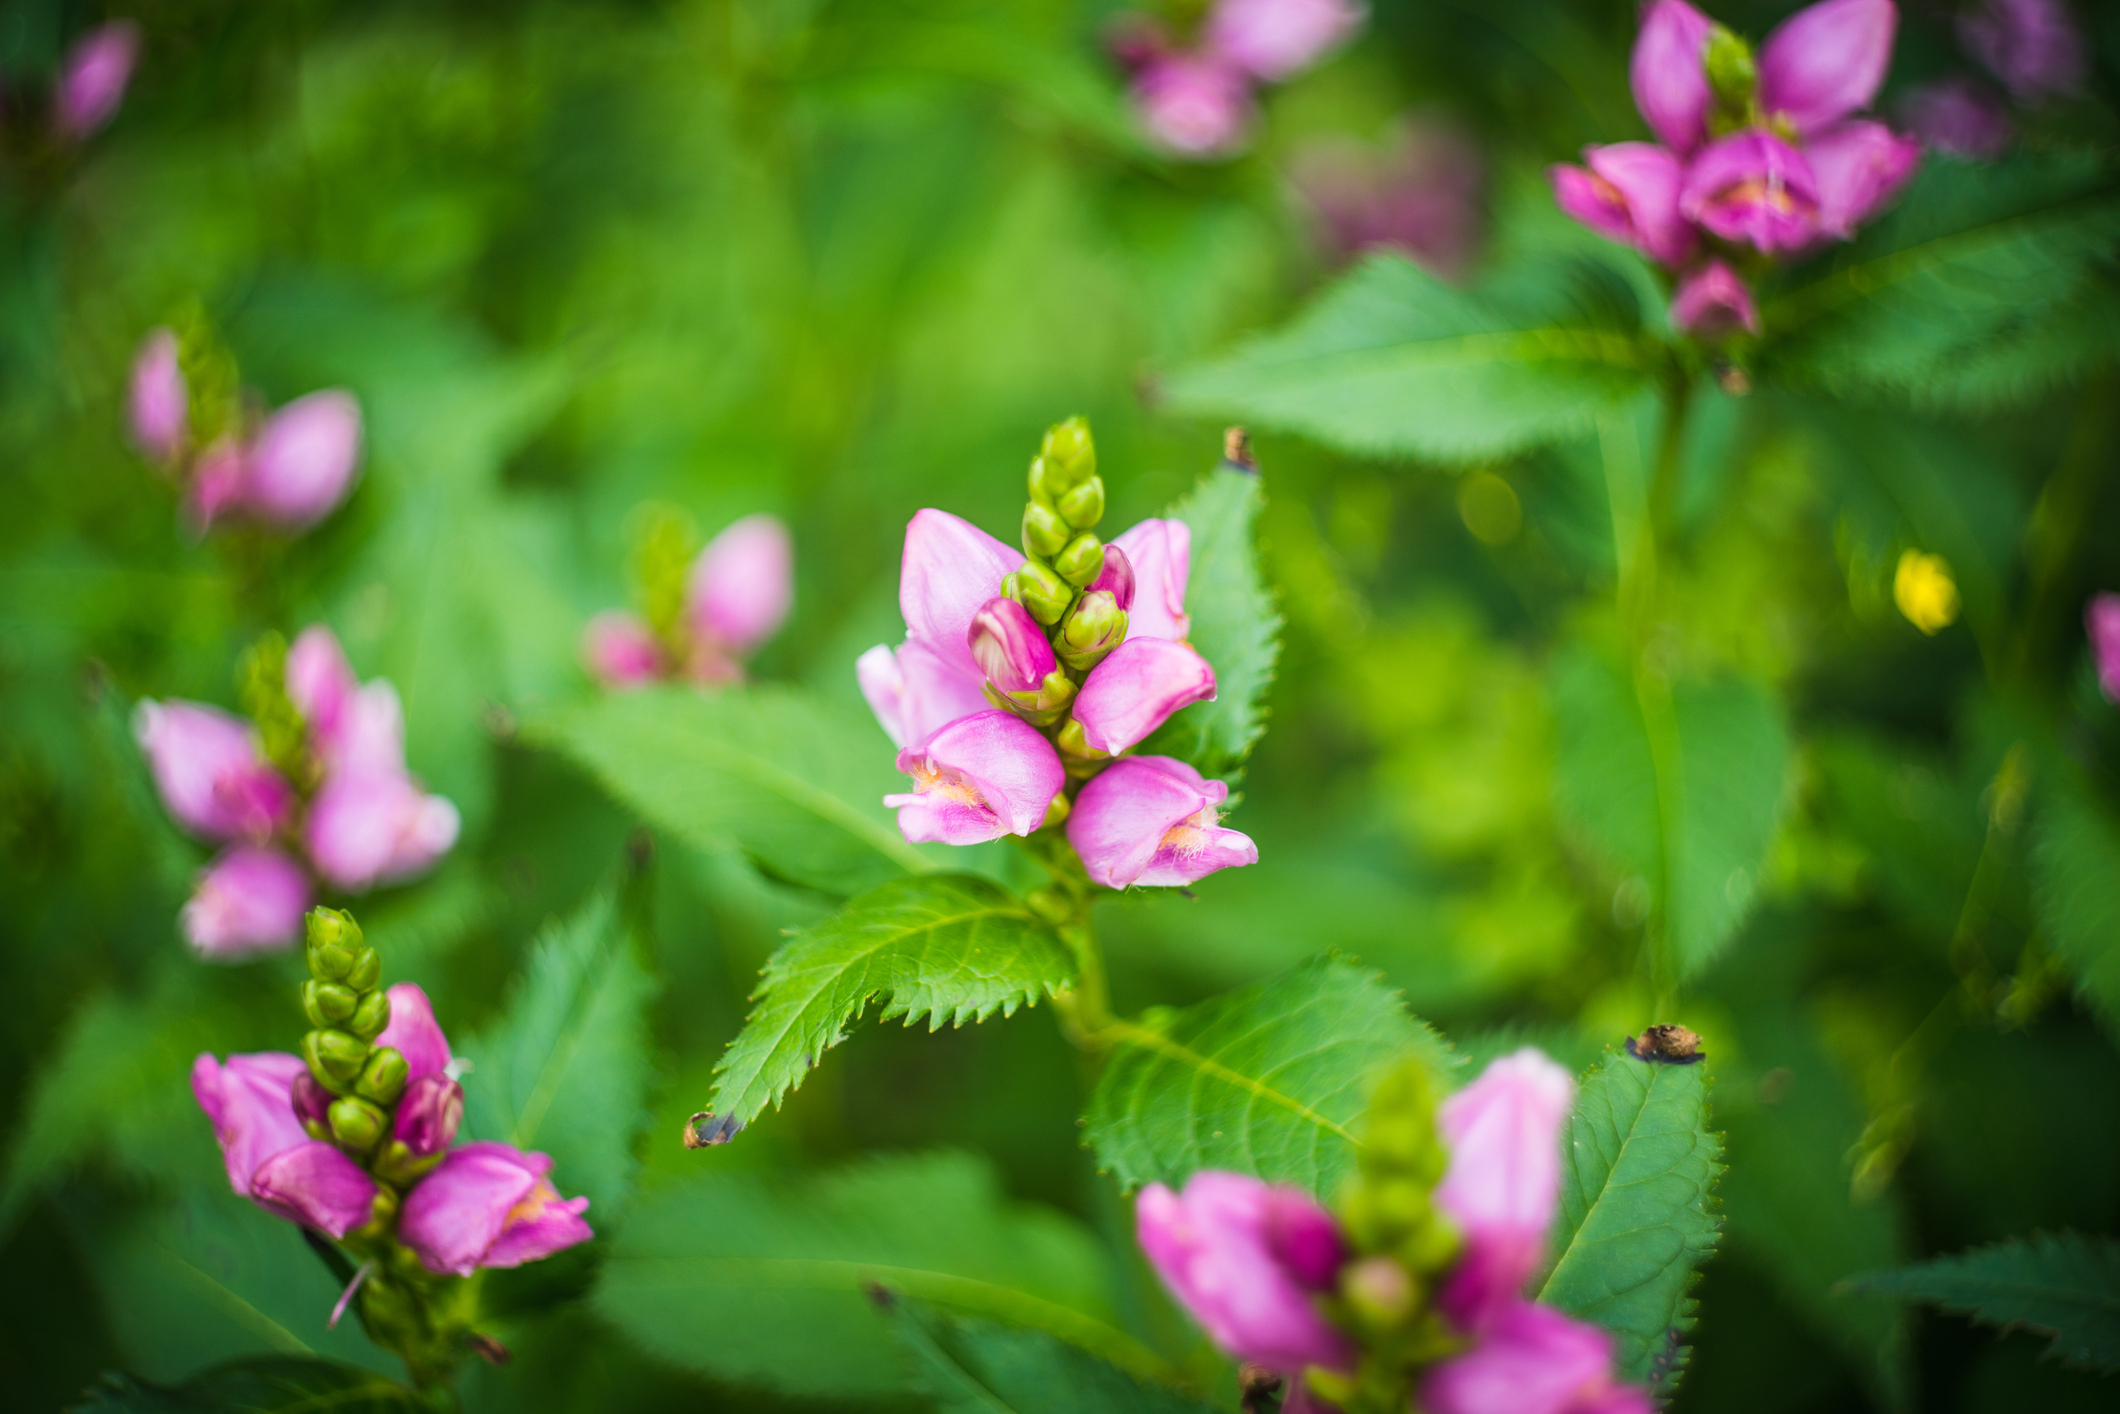
Turtlehead (Chelone Glabra)
This beautiful plant is named after its unique shape that resembles a turtle’s head. Turtleheads are native to Minnesota’s wetlands and thrive in moist, partially shaded areas. They bloom from late summer to early fall, producing pink or white flowers that attract bees and butterflies. They are low maintenance and easy to grow, making them perfect for beginners. Turtleheads are also deer-resistant and pollution-tolerant, making them ideal for urban rain gardens.
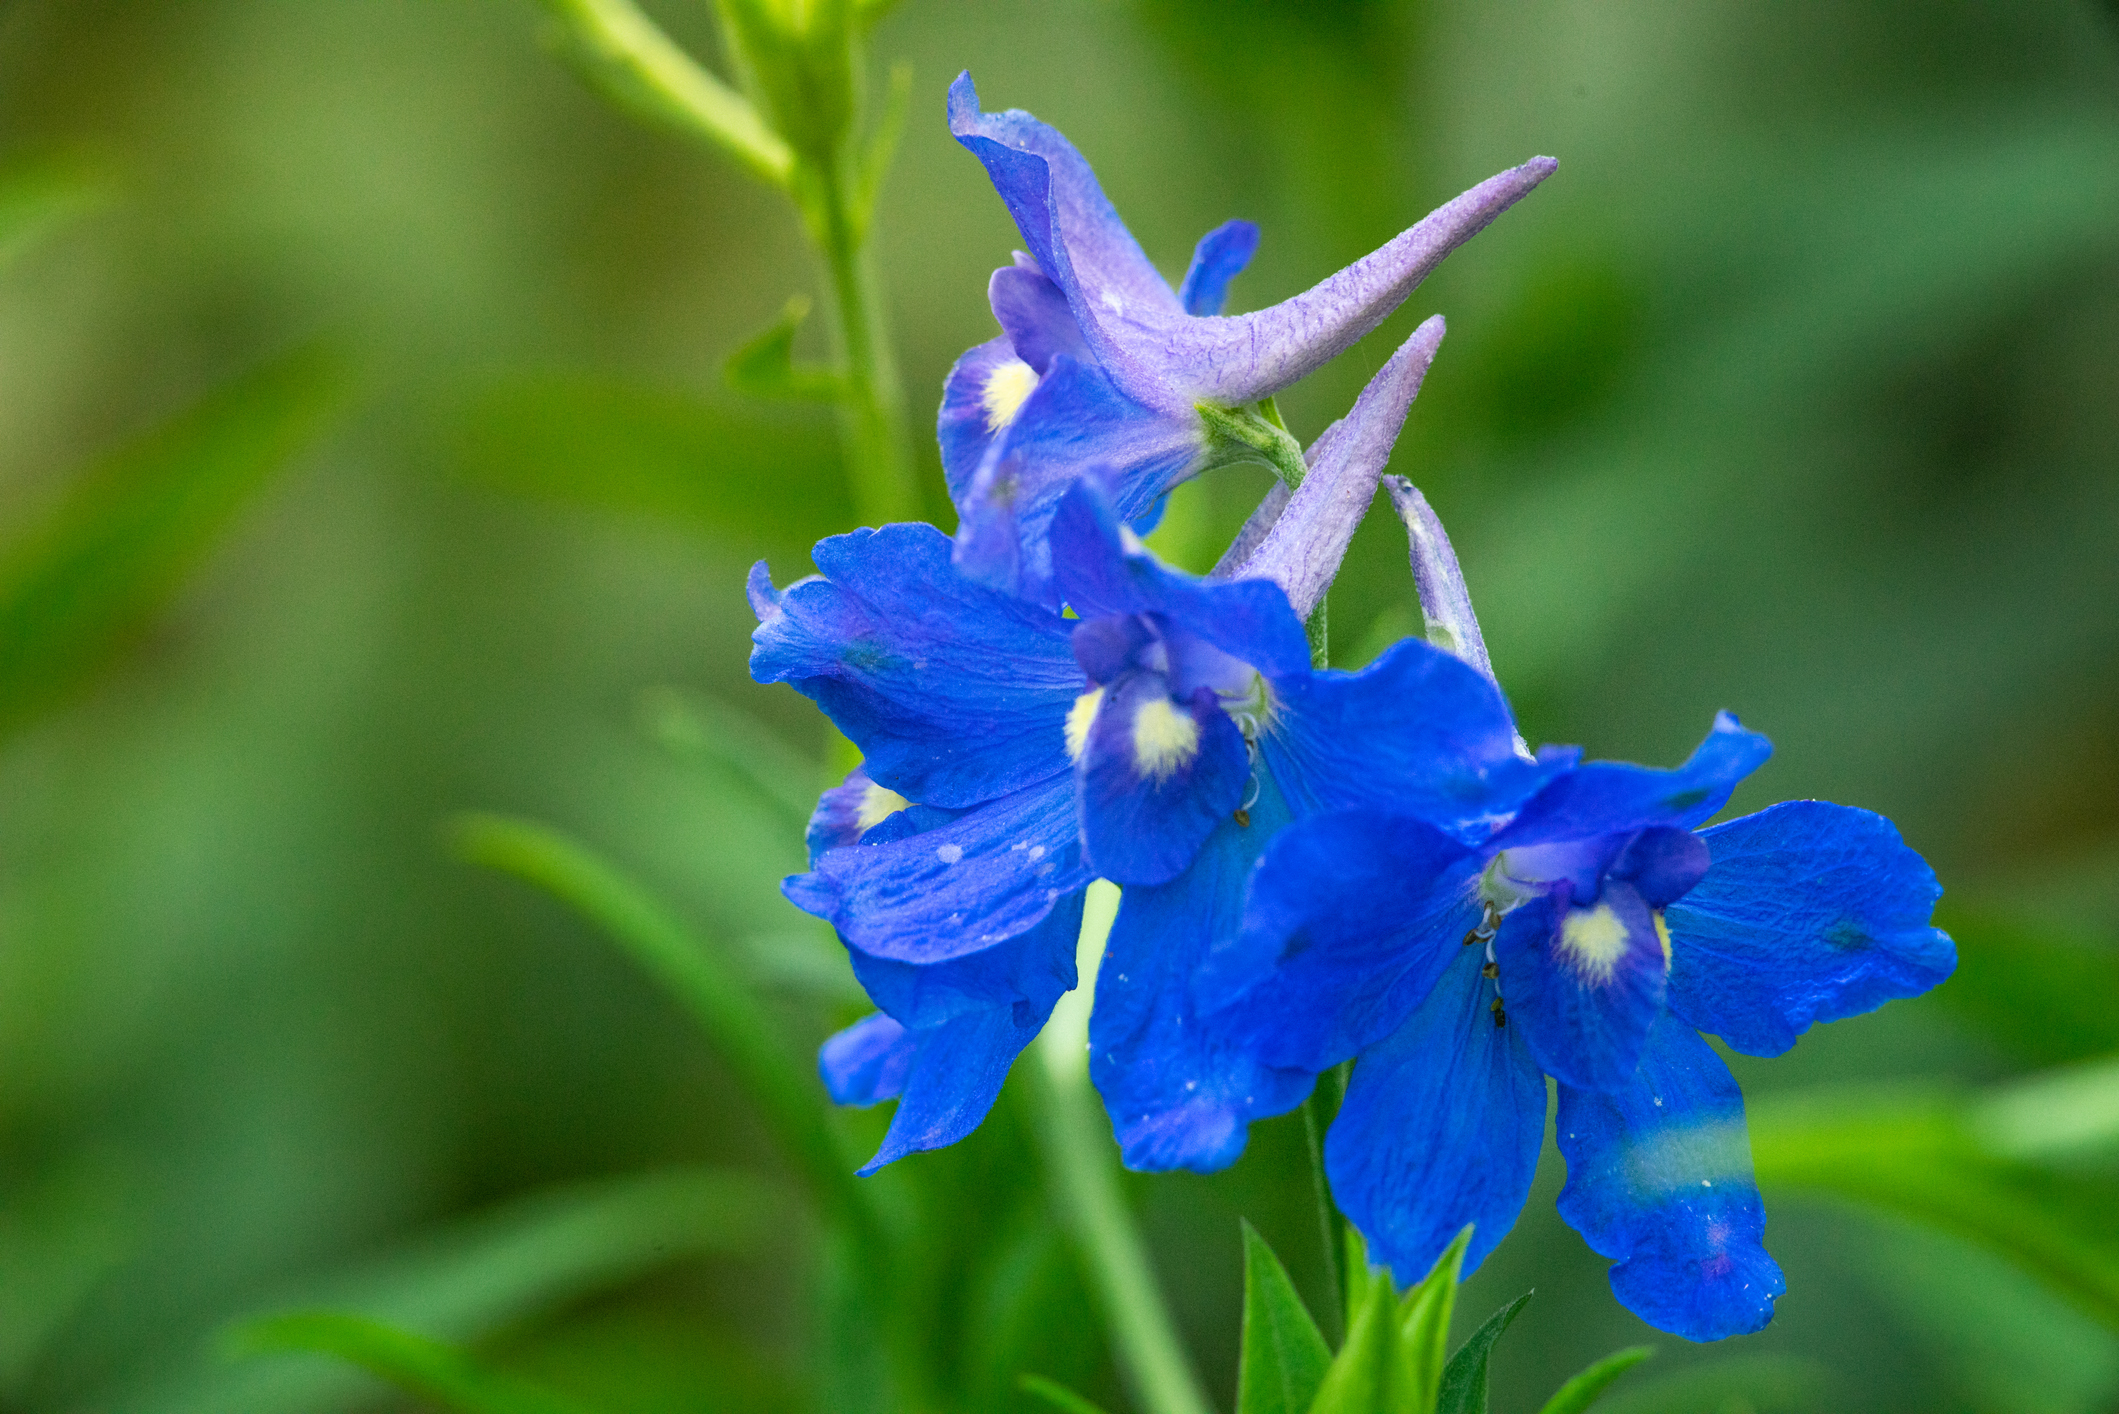
Blue Flag (Iris Versicolor)
Blue flags are a common sight along Minnesota’s wetlands and riverbanks. They are famous for their gorgeous blue-purple flowers that bloom in late spring to early summer. Blue flags require full sun to partial shade and grow best in moist, well-draining soils. They are excellent for rain gardens because they can absorb a lot of water and filter out pollutants. Blue flags are also great for attracting fun-to-watch bees and hummingbirds.
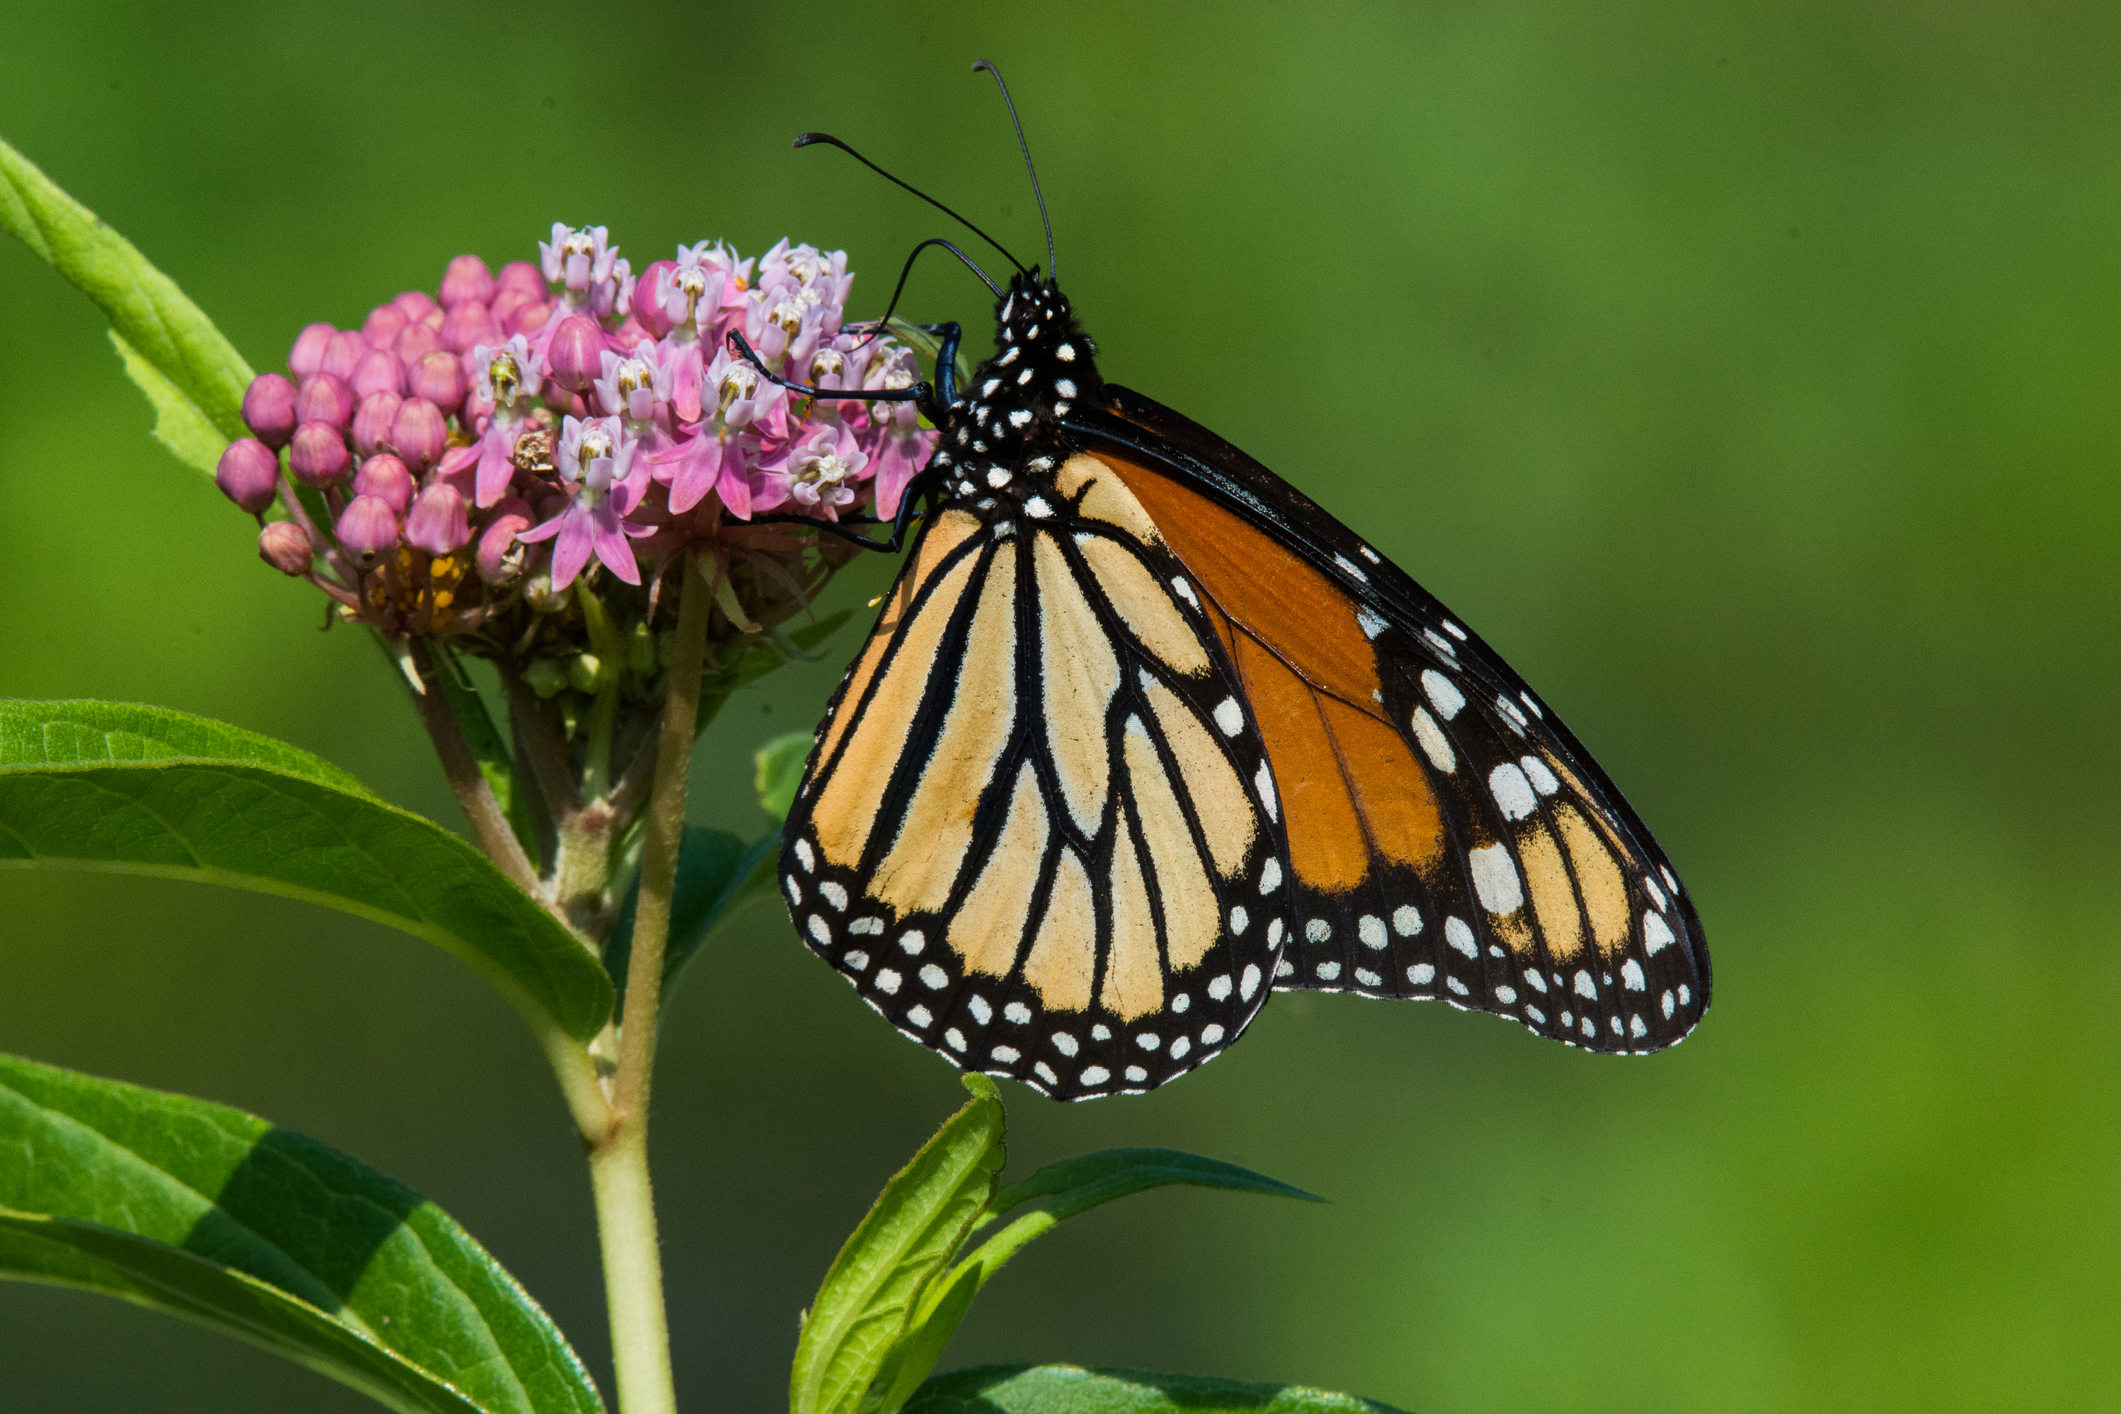
Swamp Milkweed (Asclepias Incarnata)
Swamp milkweed is a must-have for any rain garden in Minnesota. This plant is prized for its attractive pink to mauve flowers that bloom from mid-summer to early fall. Swamp milkweed prefers sunny, moist environments and tolerates wet, dry, or sandy soil. It is also a host plant for the monarch butterfly larvae and can attract other beneficial insects such as bees and ladybugs.
Joe Pye Weed (Eutrochium Maculatum)
Joe Pye weed is a tall wildflower that grows along Minnesota’s stream banks and marshes. It produces a large, pink-purple flower head that blooms from late summer until early fall. Joe Pye weed prefers full sun and moist soils in rain gardens but can survive in drier soils. This is also an excellent plant for attracting pollinators such as bees and butterflies, and it can be used to treat various ailments in traditional medicine.
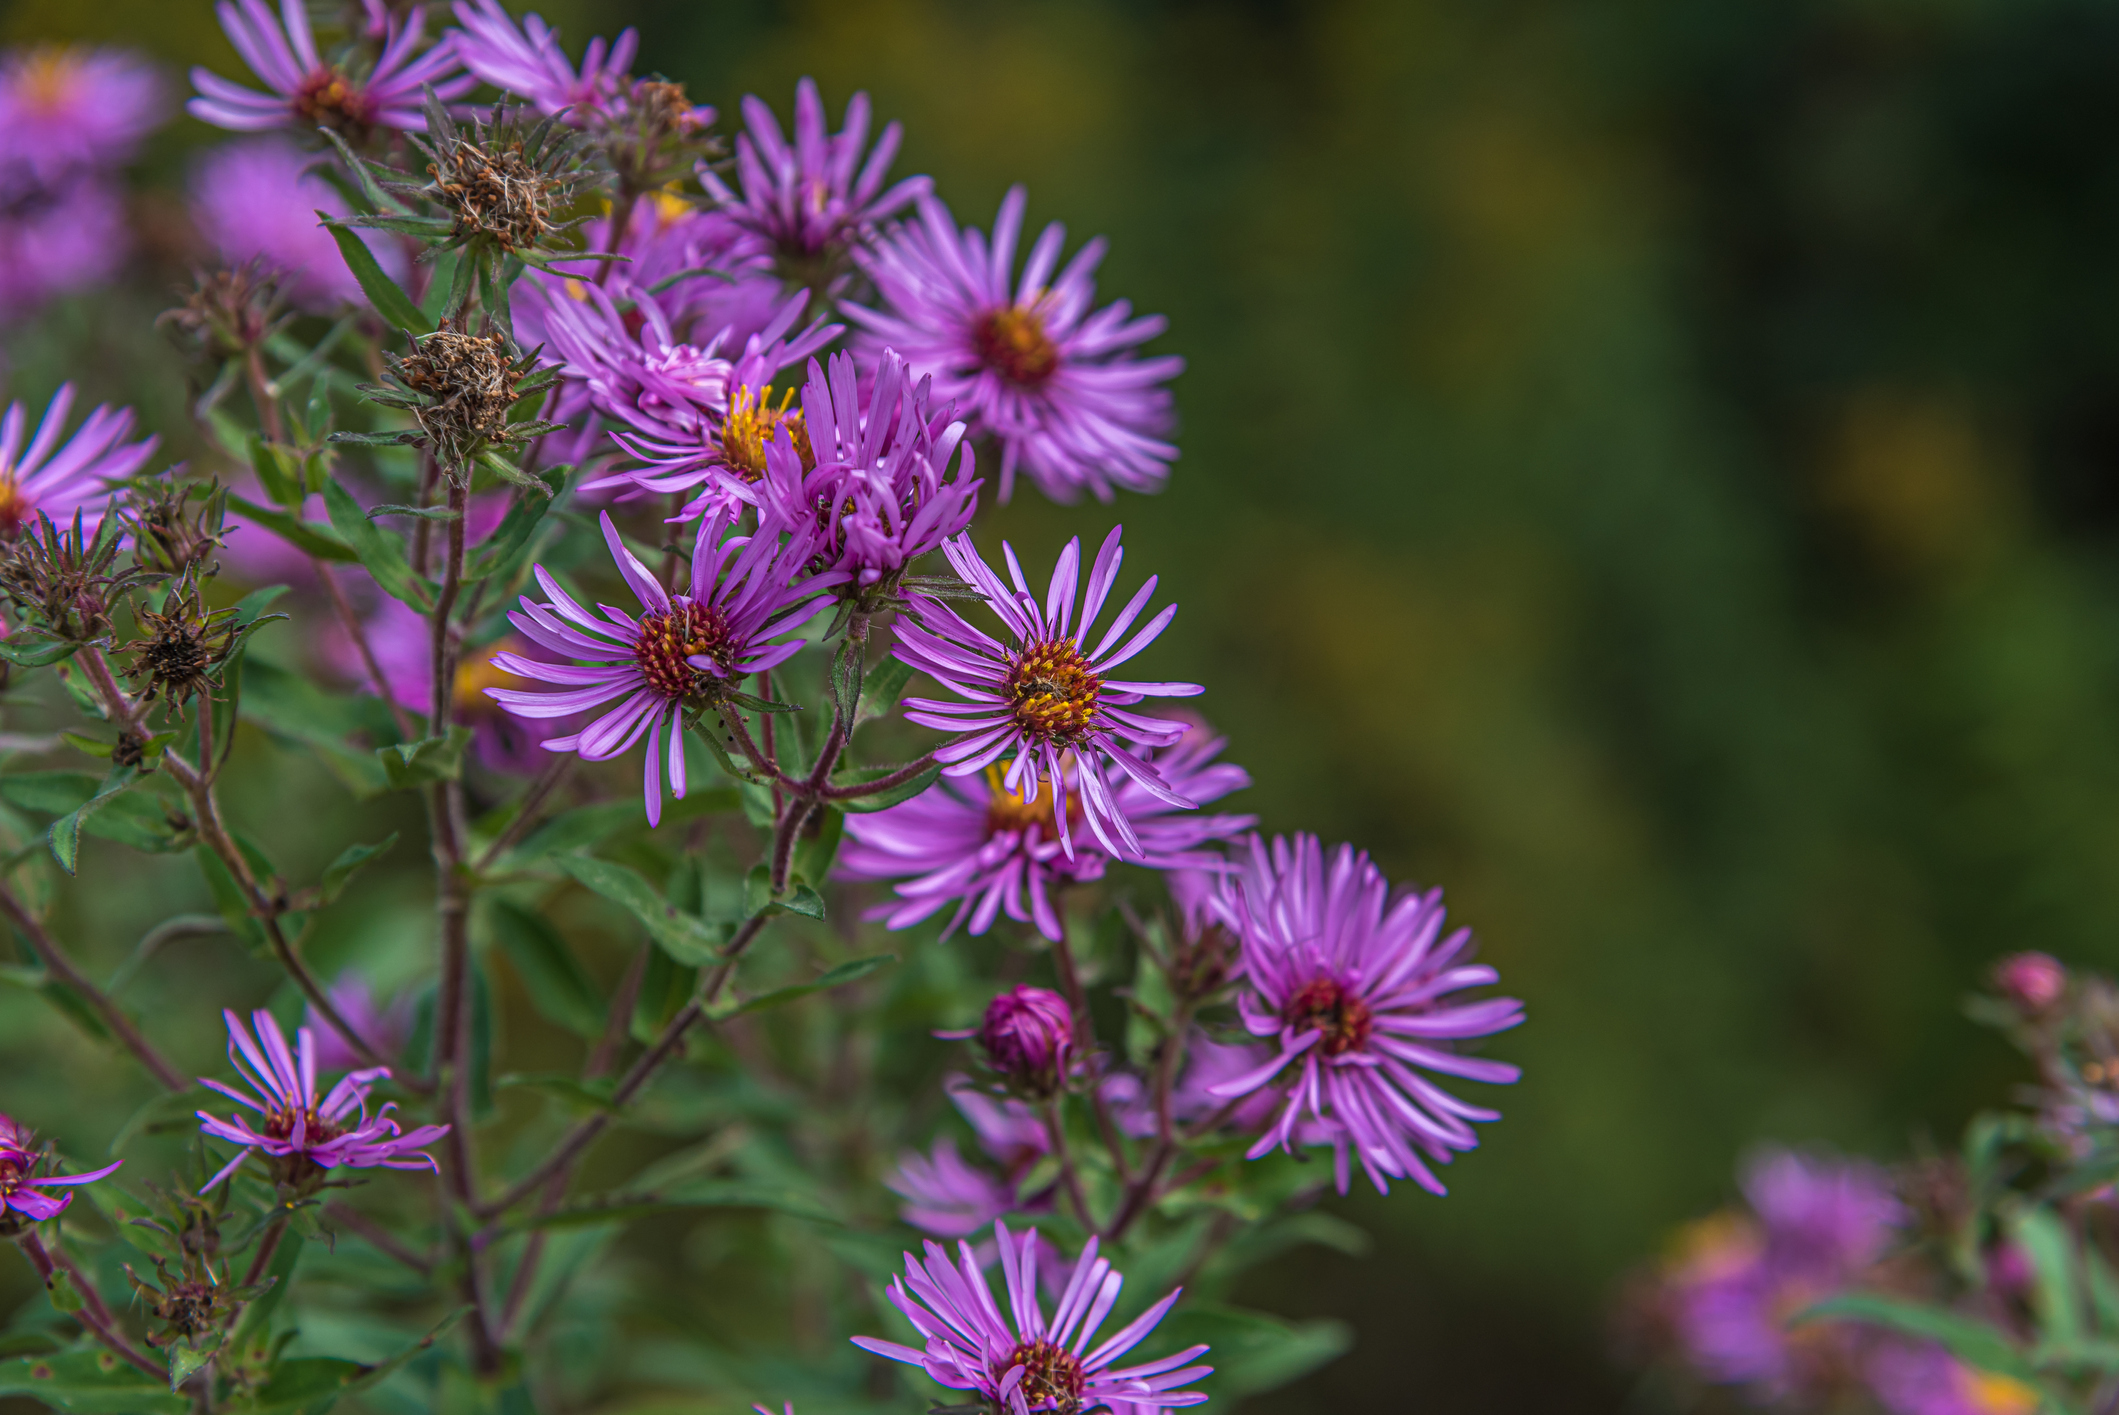
New England Aster (Symphyotrichum Novae-Angliae)
This plant is a favorite among gardeners because of its vibrant purple flowers that bloom from late summer to early fall. New England Asters prefer full sun and well-draining soils in rain gardens but can tolerate moist conditions. It is a great plant for attracting butterflies and bees and is also known for its medicinal properties in treating various illnesses.
How to Plant a Rain Garden
Now that you have a general understanding of rain gardens and some of the native Minnesota plants you can use, here are the necessary steps to plan and plant a rain garden that suits your business, commercial, or any property type.
Step 1: Assess Your Property
The first step in planning a rain garden is to assess your property’s site conditions. This includes analyzing the soil type and drainage, the slope and grade of your land, and the amount of sunlight and water exposure. It is important to understand your site’s limitations and opportunities to determine your rain garden’s ideal location, size, and design.
For instance, if your property is in a high water table area, it may be necessary to consider raised or sunken garden beds to avoid waterlogging. Similarly, if your property is on a slope or near a creek, you may need to construct terraces or berm systems to prevent soil erosion.
You’ll also want to keep an eye out for things like:
- Underground utility lines that may be impacted by building and planting a rain garden.
- How much runoff water will be making its way to your garden? This is important as it’s a natural way to water your garden.
- Water pollution and chemicals coming from parking lots, etc., may also play a role in the overall health of your rain garden.
Step 2: Choose Your Plants
Choosing the right plants to thrive in your site’s conditions can make all the with a successful rain garden. Native plants are ideal because they are well-adapted to the local climate, soil, and moisture levels. They also provide natural habitats and food sources for local wildlife, like birds, bees, and butterflies.
Some popular Minnesota native rain garden plants include Coneflower, Black-Eyed Susan, Blue Flag Iris, and Swamp Milkweed. It’s important to consider the plant’s bloom time, height, and watering needs when choosing and plant accordingly. Choosing different foliage that blooms at different times throughout the year can be a great way to ensure your rain garden provides a bit of color throughout the season.
Step 3: Dig the Basin
Once you have determined the ideal location and plants, it is time to start digging the basin. The garden size and depth will depend on the size of your property and the amount of water you want to capture. A general rule of thumb is to make the basin about 30% of the total area of the roof or other hard surfaces that drain to it. The depth should be about 6-12 inches, depending on the water absorption capacity of the soil. You can create a berm or curve around the basin to enhance its appeal and direct water flow.

Step 4: Prepare the Soil
After you have dug the basin, it’s time to prepare the soil for planting. Remove debris or rocks from the soil and mix compost or other organic matter to improve soil drainage and fertility.
Step 5: Plant Your Garden and Add Stones or River Rocks
The final step is to plant your rain garden with your selected plants and add stones or river rocks. Strategically plant according to height and spacing while giving plants enough space to grow freely.
Build in the garden beds or rock terraces beneath them to stop erosion, and water them thoroughly during the first few weeks to promote root growth. Cover the soil with 2-3 inches of stones or river rocks to reduce weeds and help with the flow and filtration of rainwater.
Once established, all you need to do is maintain and admire your beautiful new rain garden. Regular maintenance includes pruning dead leaves and flowers, fertilizing with compost, and seasonal watering.
Caring for a Rain Garden
After devoting so much work to creating your beautiful rain garden, caring for it is another step to consider. Hiring a professional landscaper to assist you can be advantageous, but here are some important tips if you plan to do it alone.
Water Regularly
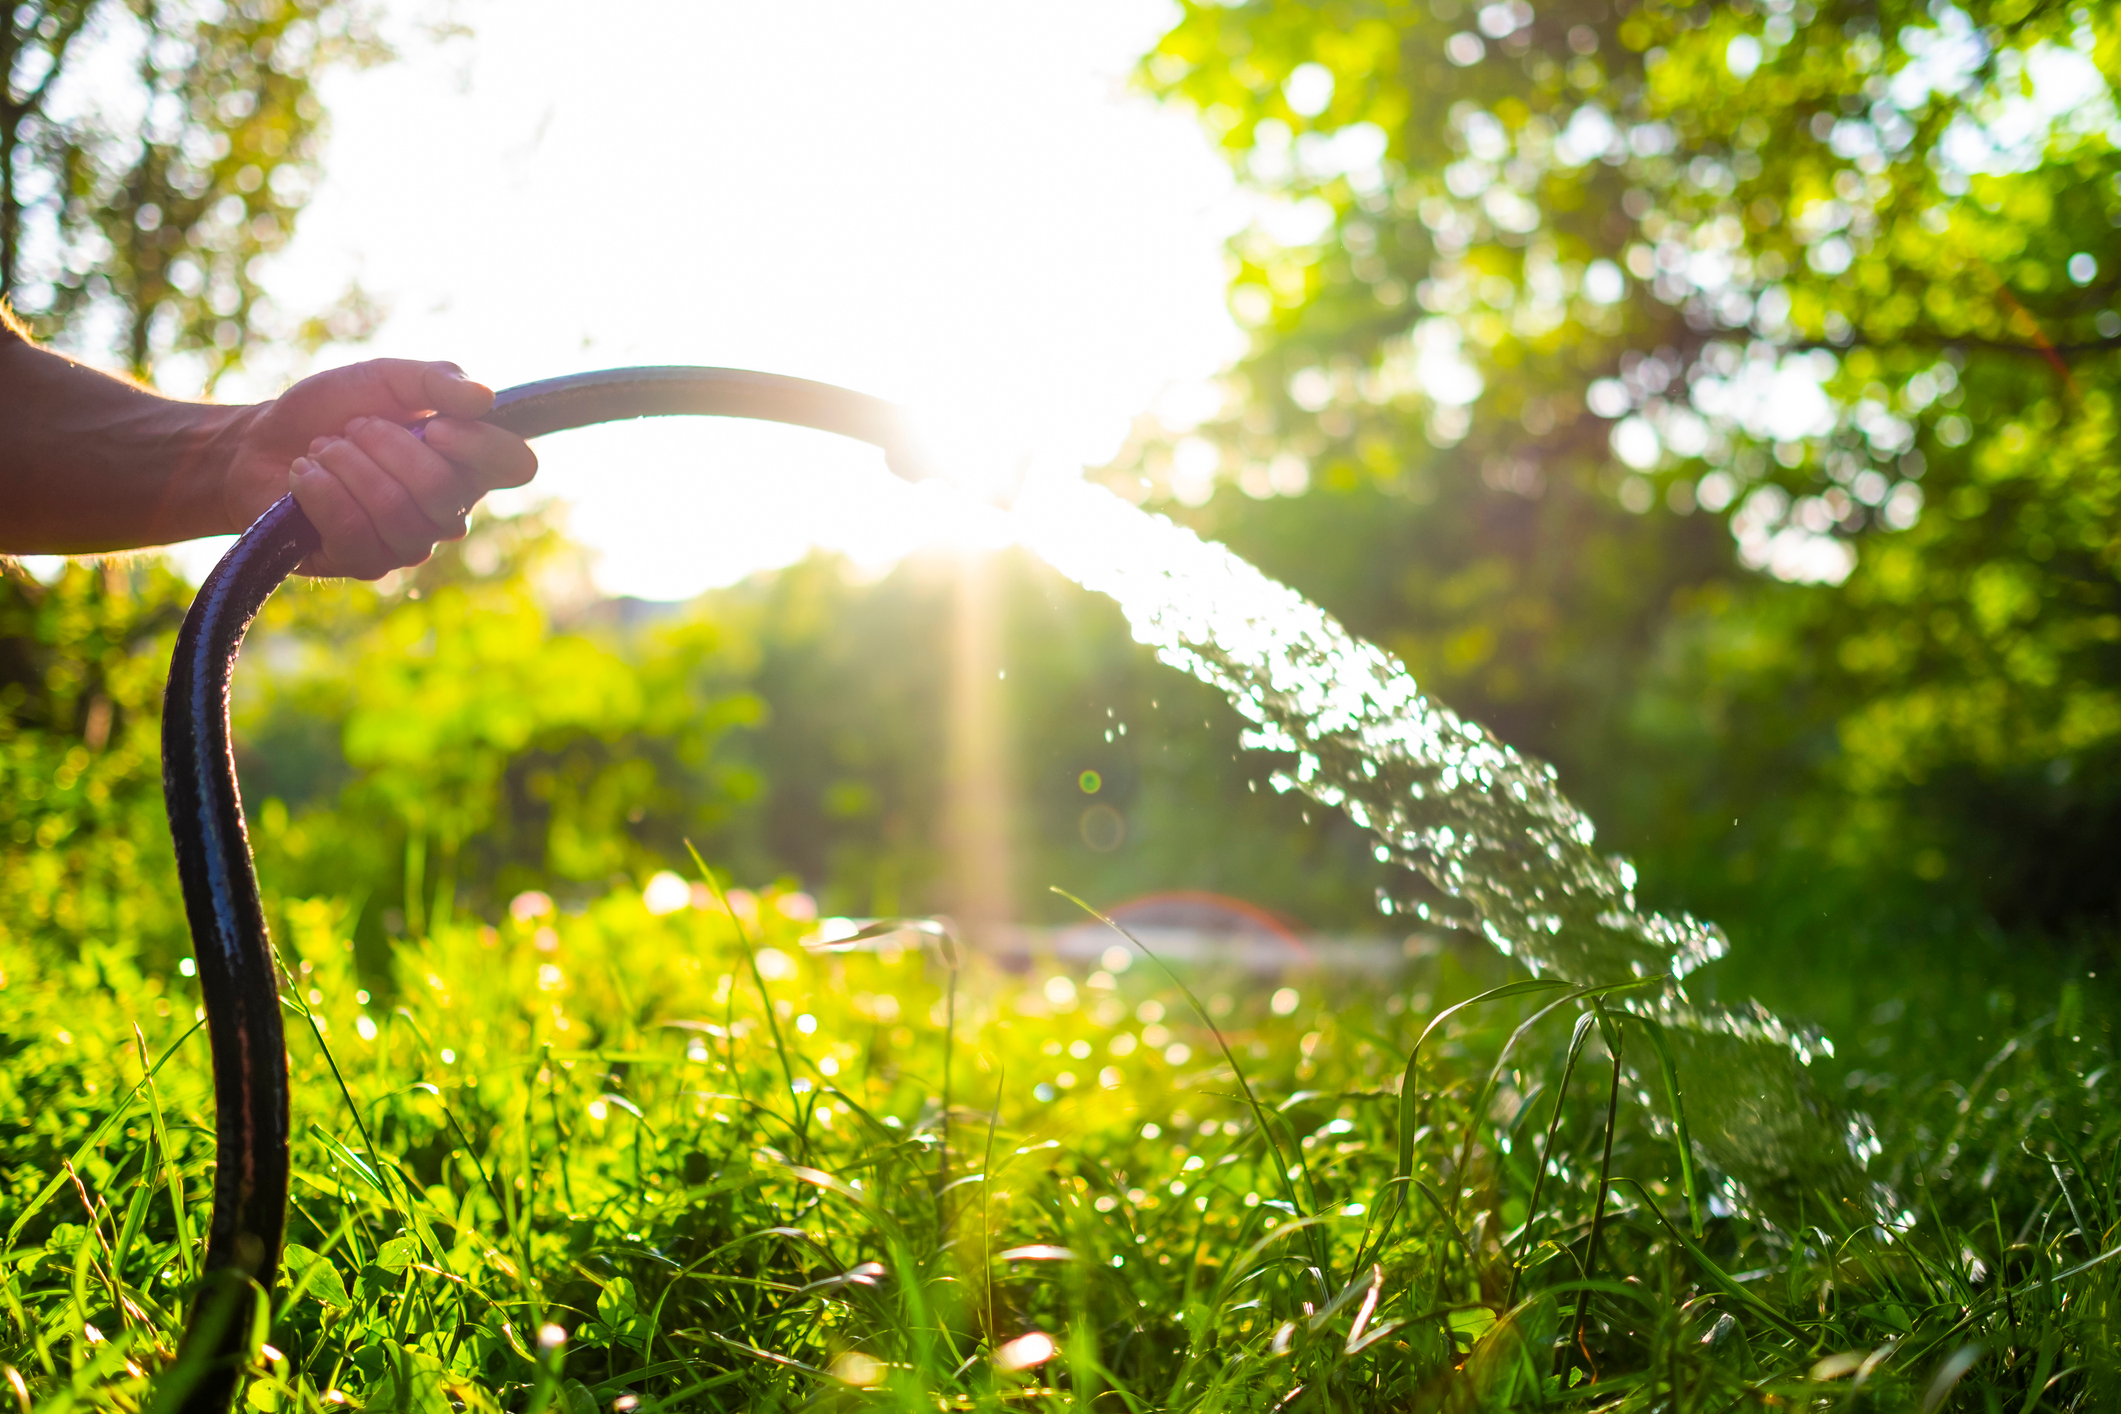
During the first growing season, you may need to water your rain garden regularly until it is well-established. This helps ensure plants develop very deep root systems and manage water effectively. After the first season, you may find you won’t need to water your rain garden since it is designed to capture and retain rainwater. However, you may need to water your garden in drought to keep it healthy.
Weed and Replace Stones or River Rock as Needed
Like any other garden, a rain garden requires regular weeding to keep it looking its best. Try to keep weeds under control by hand-pulling them before they become established. Replacing stones or river rocks in your rain garden may also be necessary depending on your average rainfall and how much of the rock has been washed away over time.
Monitor Drainage
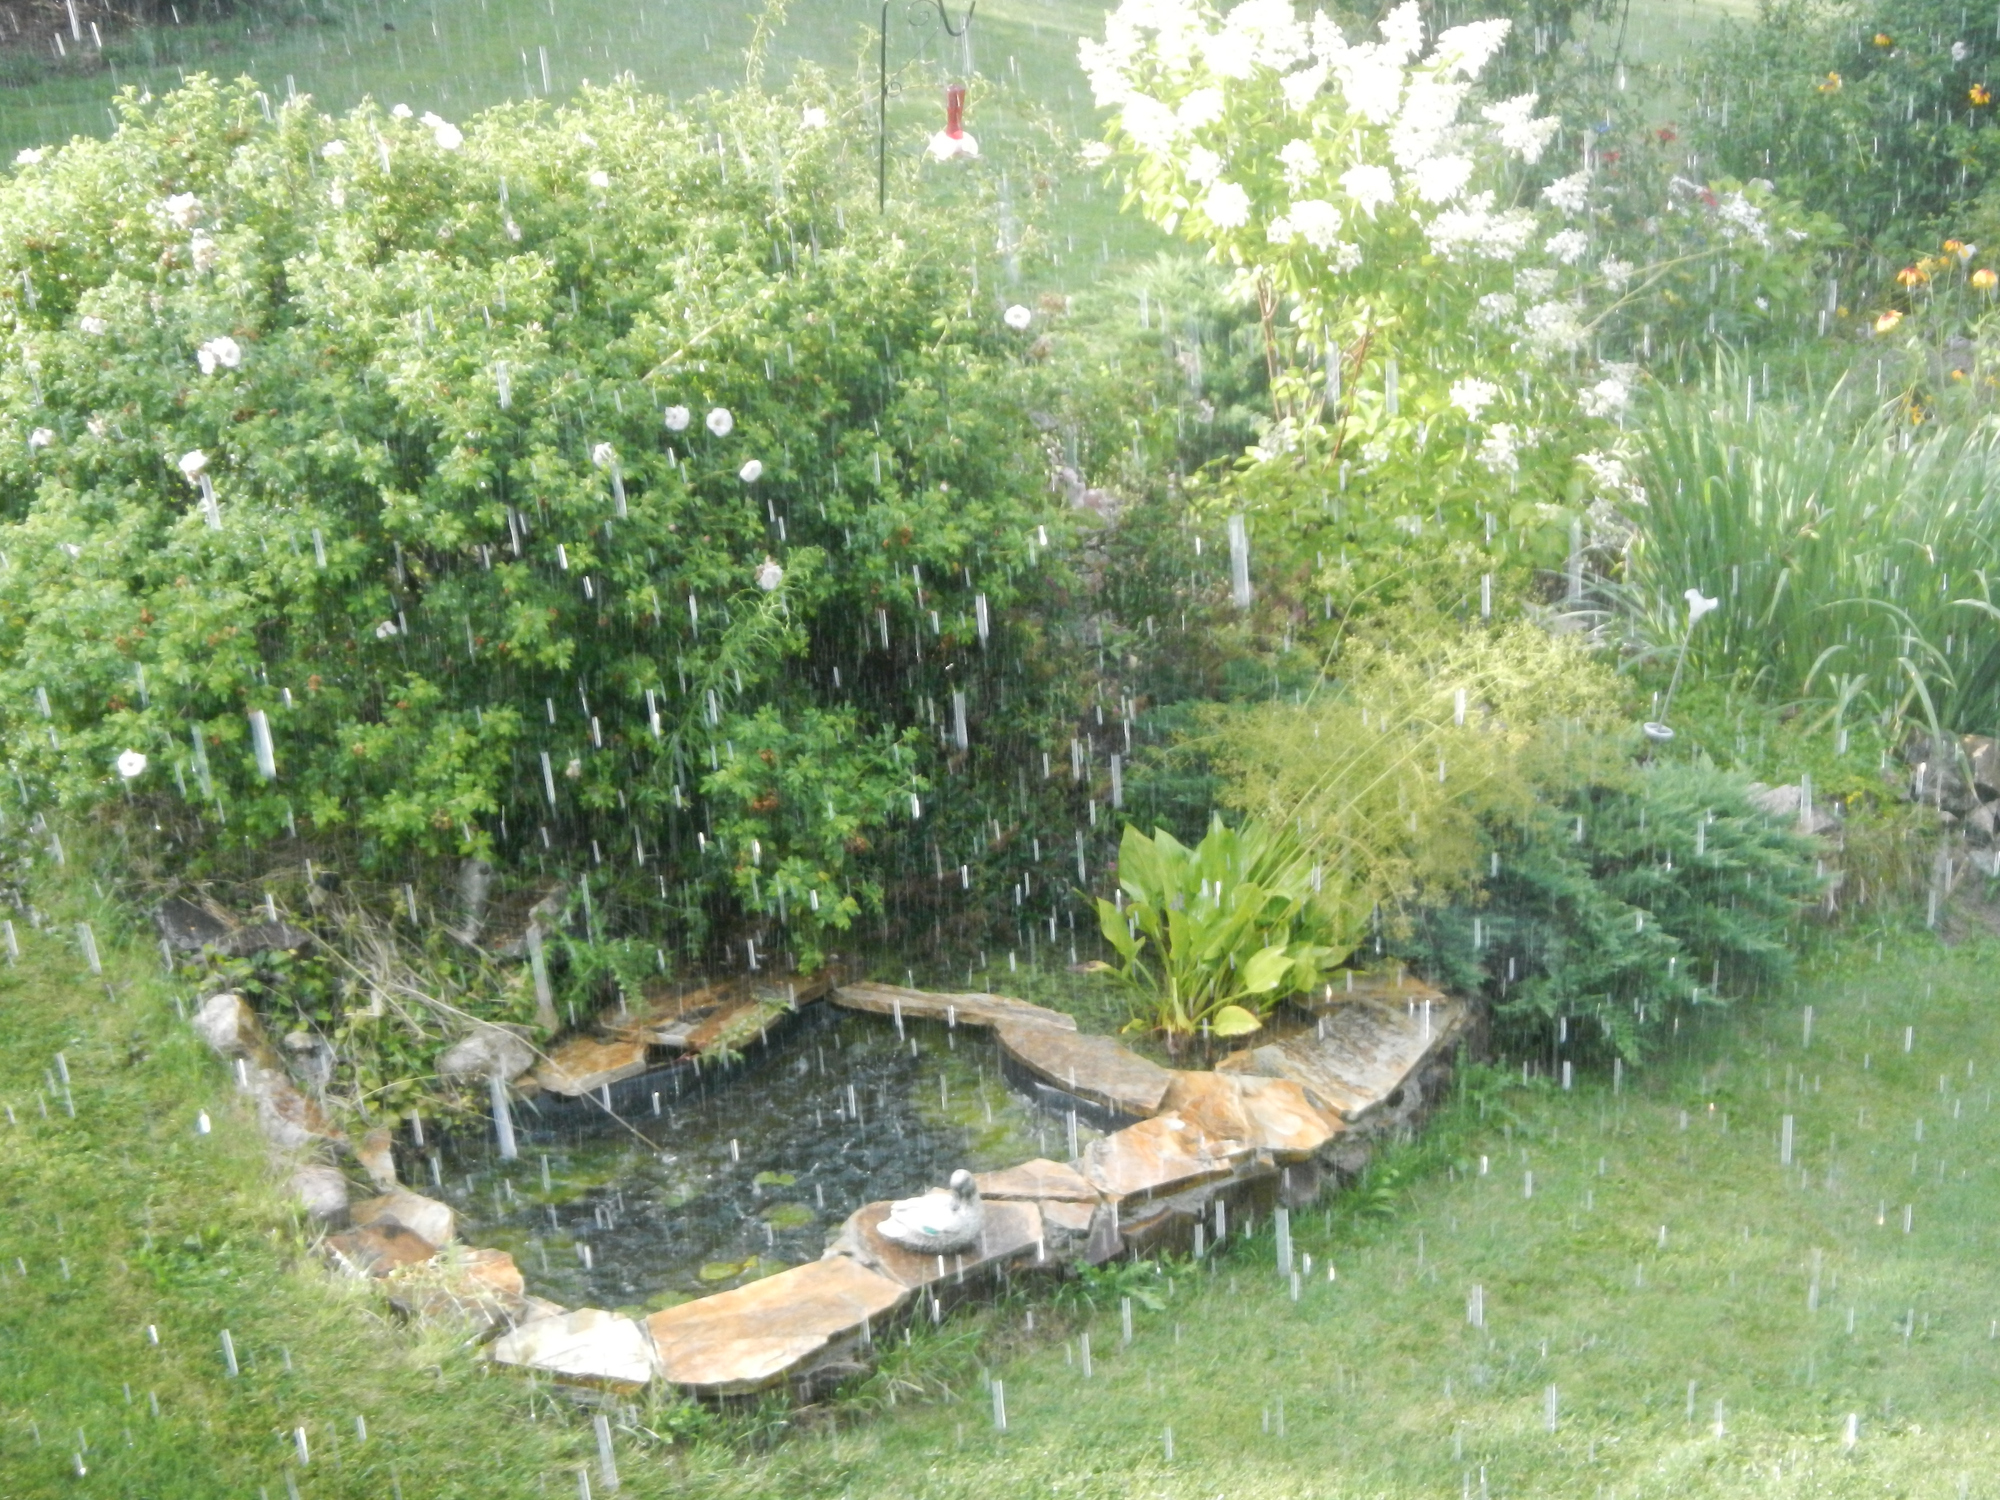
The most important aspect of caring for a rain garden is monitoring drainage. After a heavy rain, check to ensure the garden drains properly. If water sits in the garden for over a day or two, you may need to adjust the soil or plant selection. Removing debris such as fallen leaves, dead plants, or branches from your rain garden can also help improve drainage.
Summary
There are many benefits of a rain garden at your home or business. Not only is it a great way to go green and collect stormwater runoff, but it’s a great way to attract native species of bugs, birds, and more.
When planning your own rain garden design, whether for your business or at home, remember to choose the right site and plants, ensure you have well-draining soil, and provide the necessary maintenance to ensure your rain garden thrives.
Need help planning or maintaining your rain garden? All Metro Service Companies can assist. Contact us today.
Looking for more information?
Call us today at 763-789-4788 to receive a free estimate on any of our property services.
Free Estimates
on all Services
Use the form below to request a free estimate on any of our services.


