Seed Starting at Home in Minnesota
Seed Starting at Home in Minnesota
If you’re a resident of Minnesota with a green thumb, you may wonder, when is the best time to start seeds for vegetables or decorative flowers to plant in spring? After all, the weather can be unpredictable, and temperatures can vary drastically from one day to the next. Not to worry—we’ve got you covered! We have a quick overview of why, when, and how to start growing plants from seeds in Minnesota.
The Benefits of Starting Plants from Seeds
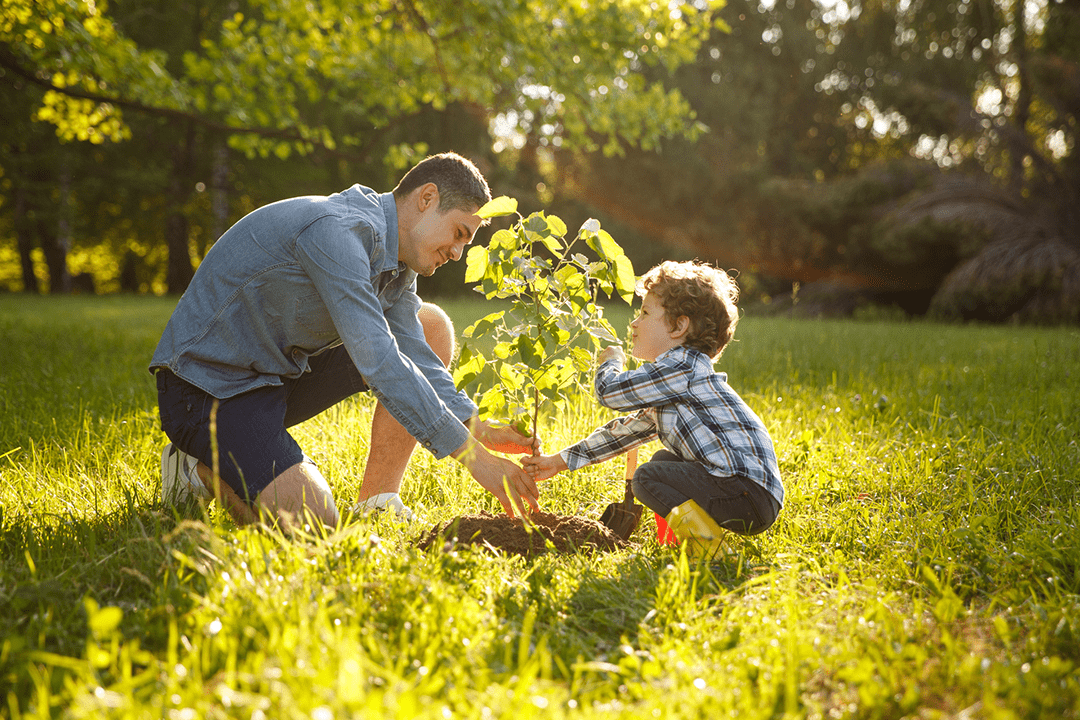
Growing plants from seeds is a rewarding and cost-effective way to have beautiful landscaping. Not only does planting from seed make your garden more unique, but it’s also an excellent opportunity to learn about the life cycle of plants and hone your gardening skills.
There are many benefits of starting plants from seeds
Cost Savings
Seed starting is much less expensive than buying already-grown plants or shrubs. Buying seeds in bulk, such as seed packets, is even cheaper. If you know you’ll need multiple plants, it’s best to shop in bulk. Some nurseries may also offer discounts on larger orders, so be sure to ask. Additionally, if you buy quality seeds that are certified organic, they won’t be treated with any pesticides or chemicals, leaving you with a natural garden free of potentially harmful substances.
More Variety in Garden Plants
When you purchase already-grown plants or shrubs, there is a limited variety available to choose from. Growing plants from seeds gives you access to a wider range of options for both flowers and vegetables that may not be available at local nurseries or garden stores. You can also experiment with different combinations and varieties of plants that work best in your climate. When you start your own seeds you can get creative with the types of plants, color palettes, or themes for your garden.
There’s more variety in plants when you start from seeds
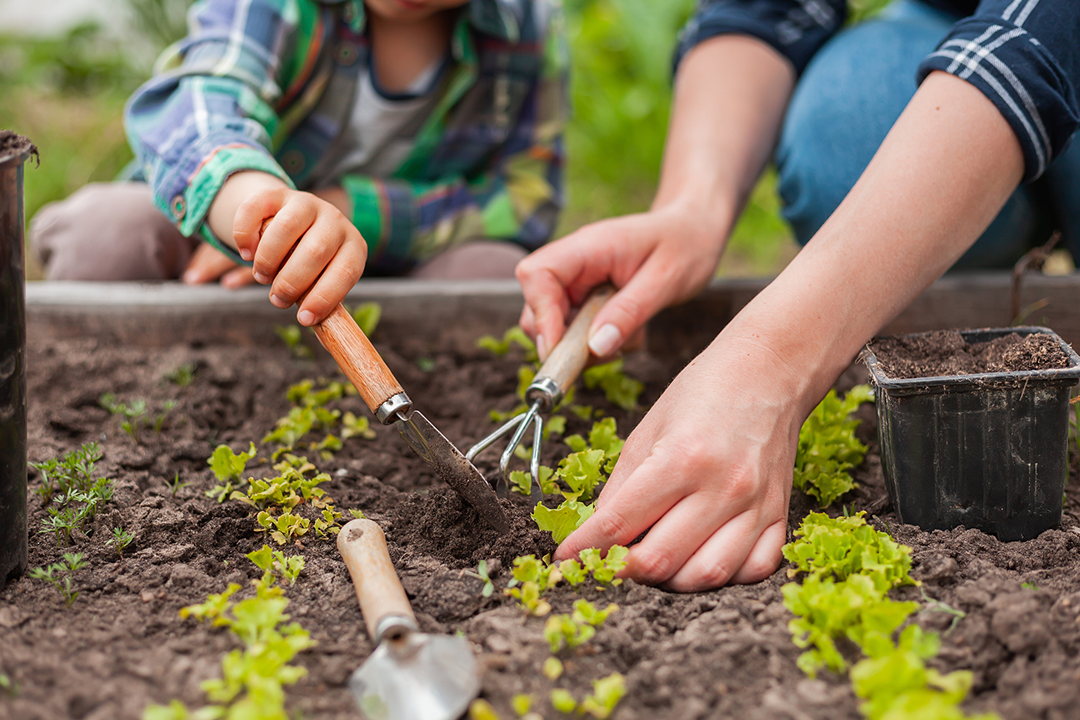
Learning Opportunity
Seed starting in trays provides a great opportunity for learning about the life cycle of plants and horticulture in general. When starting, it’s important to understand the basics, such as potting mix requirements for germination, how much light each plant needs, when to water them, and how often they need fertilizing. For those wanting to take their gardening experience up a notch, growing unusual varieties like heirloom tomatoes or rare flowers is an excellent way to challenge yourself while gaining valuable knowledge at the same time.
When is the Best Time to Start Growing Plants From Seed?
The best time to start planting seeds in Minnesota depends on what type of plants you are looking to grow. If you plan to plant seed indoors, you’ll need a few weeks to get seedlings started and for the last frost date to pass for the plants to survive. If you’re going to plant the seeds directly in the ground, it’s generally recommended that gardeners wait until after Mothers Day or the last frost before getting their hands dirty.
Waiting gives the soil enough time to warm up and ensures that most annual flowers and vegetables can survive. However, some hardy perennials can be planted as early as March if you’re feeling ambitious.
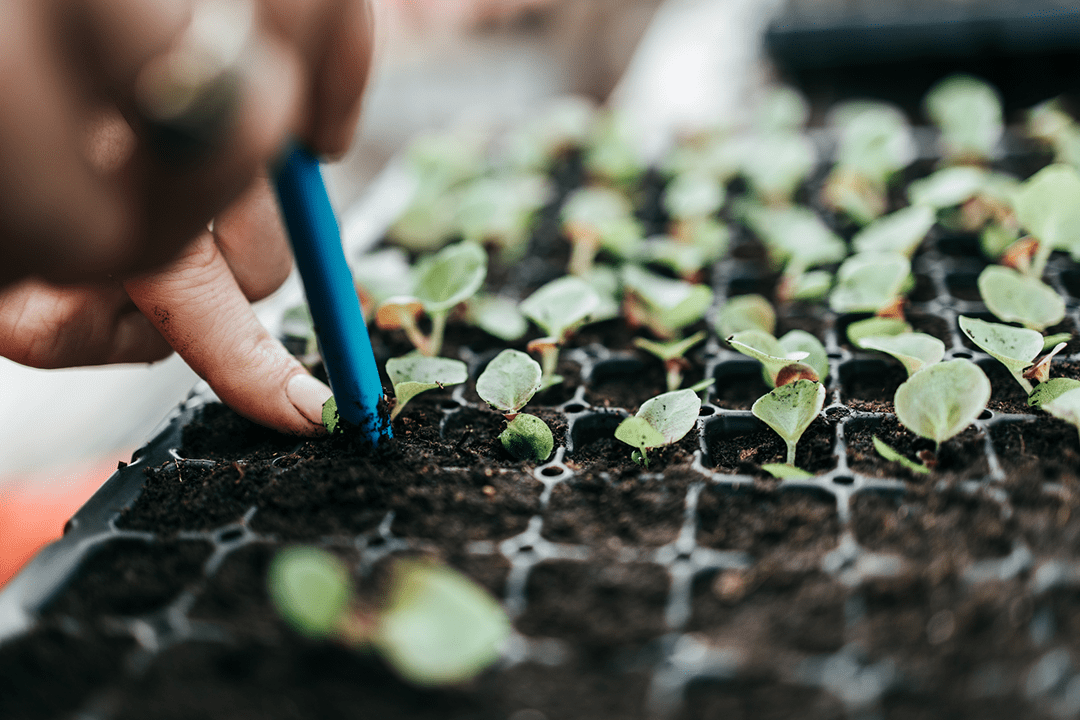
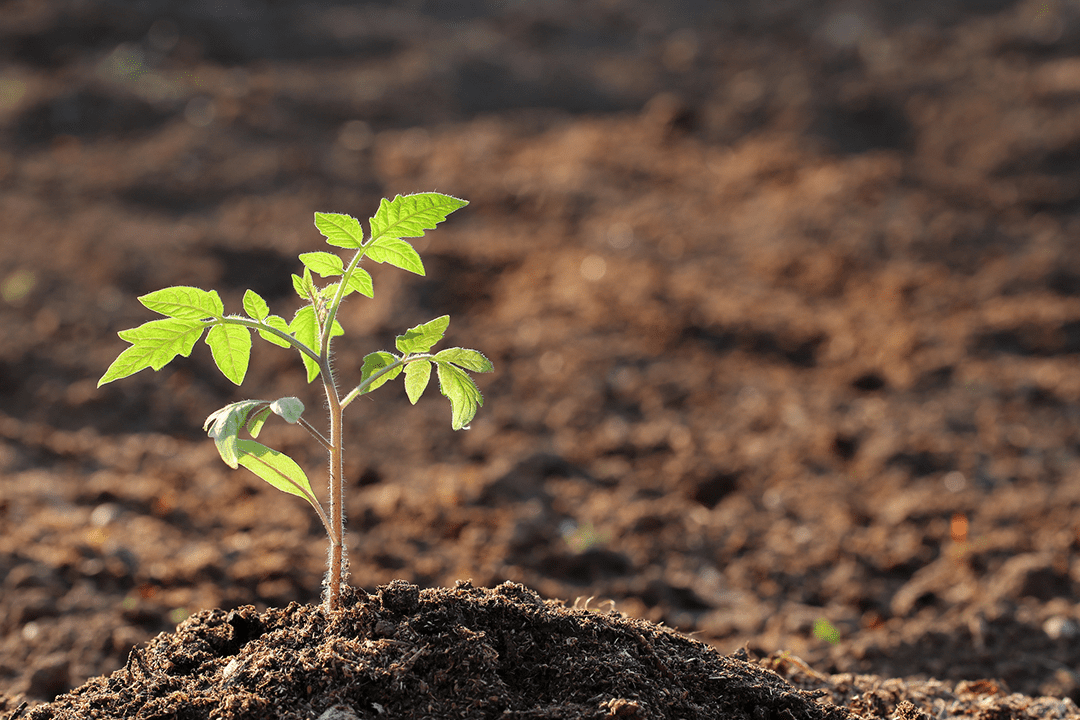
Proper care is an important step when growing seedlings
What Should I Plant?
Minnesota’s climate is conducive to growing many different types of plants. From fruits and vegetables such as tomatoes and peppers to herbs like sage and rosemary, there are plenty of options for those looking to plant their own garden. Additionally, annuals like marigolds and petunias are popular choices for brightening up flower beds around homes and businesses alike. In general, choosing native species is always a good idea since they tend to be more resilient than non-native varieties.
How Do I Get Started?
After a long winter, if you’re an avid gardner chances are you’re excited to sow seeds. That’s what makes now it’s time to take action! The guide below walks through the supplies needed to start seedings and the various steps of the seed-planting process so you can get started with confidence.
Containers for Planting Your Seeds
When starting the seeds indoors, you will need the proper containers for them to grow in. One of the most important things you’ll need are seed starting trays or flats with drainage holes are ideal. Simple, individual clay or plastic pots capable of holding the appropriate level of seed starting mix will suffice. Make sure whatever container you use has adequate space for each seedling; otherwise, they might become overcrowded and stunt their growth as they compete for nutrients and sunlight, and drainage holes in the bottom to prevent them from becoming water-logged. Some gardeners may also choose do-it-yourself seed trays. Egg cartons make an awesome cell pack, or you can choose to use plastic yogurt, pudding cups, or even paper cups. Just cut holes in the bottom to ensure the water can drain out!
Soil & Fertilizer
When it comes to planting mix, make sure whatever kind you use is specifically designed for seed starting, with a fine texture and good drainage qualities. Pre-fertilized seed starting mix or peat moss may be available depending on where you shop. If it’s not, add compost or fertilizer before planting your seeds to package instructions to create your own seed starting mix. This helps to ensure your young plants have the necessary nutrients they need from the time you start seeds until they develop healthy root systems below the soil surface.
Light & Temperature
When you start seeds indoors, full-spectrum fluorescent light bulbs (also known as “grow lights”) should provide enough light for optimal growth. Placing them in a well-lit room or by a window with good lighting is another important step in starting seeds. Keep in mind some species require different levels of lighting. For example, some might need grow lights if they need full sun for 6-to-8 hours a day.
Ambient soil temperatures should also be monitored carefully. If the soil is too cold or too hot, it can cause stress to most seeds and damage young seedlings making the environment to grow difficult. If you’re starting seeds indoors in Minnesota, ensuring the soil temperature is always stable will help to ensure healthy plants. When in doubt, check the directions on the seed packet for more information.
Hardening off your plants helps them stand a chance at survivng outside.
Gardening Tools
When it comes to planting seeds, having the right set of gardening tools makes all the difference. A small plastic spoon or popsicle stick can come in handy when planting delicate seeds that require just a thin layer of soil over them before being covered up with more soil or compost. Lastly, having tweezers on hand makes it much easier to remove tiny seeds from the seed packet without crushing them in the process.
Steps to Growing Seedlings Indoors
Step 1: Prepare the Soil
Before you can begin planting, you need to make sure the garden soil is ready to start seeds. Add the necessary fertilizer or compost to the soil to help promote seed growth. Distribute it evenly in your seed starting containers.
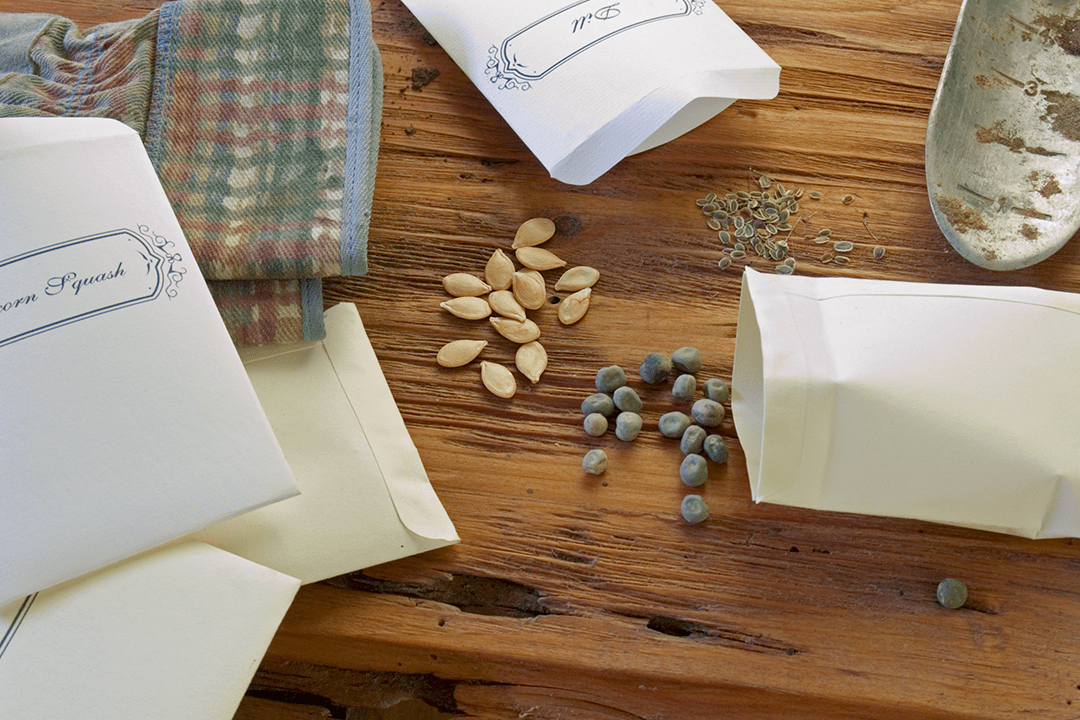
Step 2: Choose Your Seeds
Once you’ve prepared the soil for planting, it’s time to choose what type of seed you want to plant and buy the neccessary seed packets. Again, consider factors such as climate, purpose (for food or decoration), space available for growth, sunlight requirements, and care instructions when selecting your seeds. When ordering online or buying from a store, be sure to purchase enough seeds for your desired area and read all instructions carefully before beginning planting.
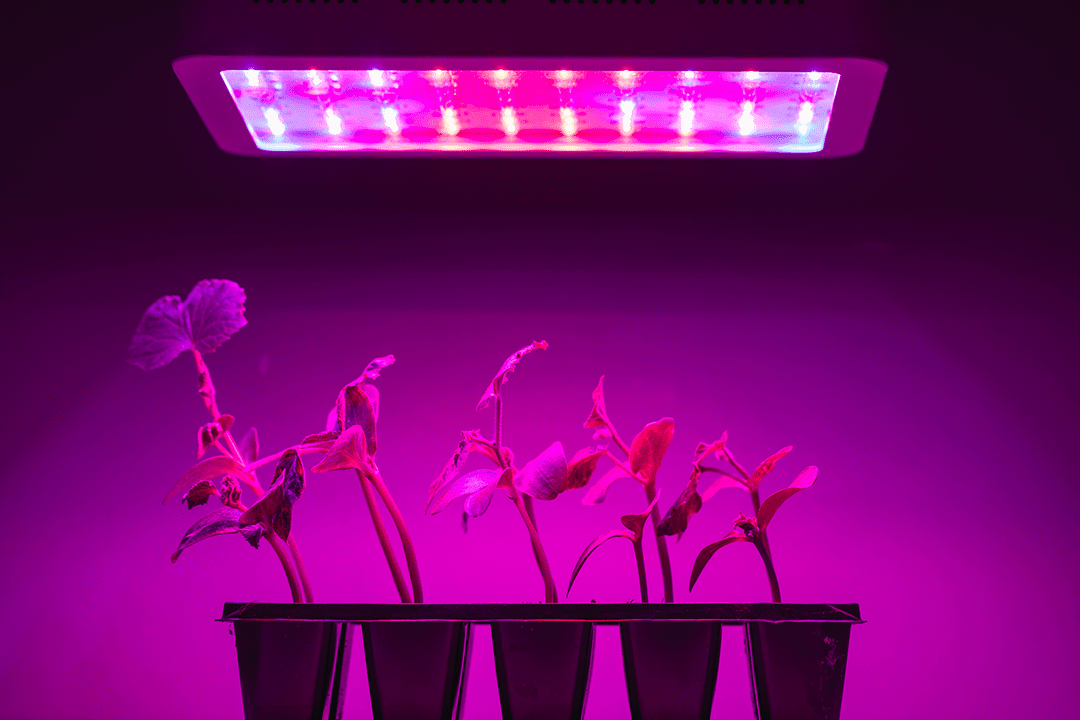
Ensure your seeds have proper lights and temperature.
Step 3: Plant Your Seeds
Now it’s time to start planting! Follow each seed packet’s directions for depth/spacing requirements to get optimal results. Plant seeds at appropriate depth into pre-dug holes – this will help ensure good contact between the soil and seed so roots can quickly take hold. Be sure not to overcrowd your plants by leaving enough room for them to grow without competing for nutrients and water resources. Germination begins happening in just a few days’ time.
Step 4: Care for Your Seedlings
After planting seeds, they must receive adequate sunlight throughout their entire life cycle, so make sure you have chosen an area where they will get plenty of sun exposure daily; otherwise, they may not reach maturity properly. Additionally, remember newly planted seeds require regular watering. Check on them every few days to ensure they don’t dry out entirely. However, while keeping seeds moist, be careful not to overwate. It can also grow mold to grow quickly which can be harmful to plants.
What seeds should I start indoors
Step 5: Thinning out Your Seedlings
When seeds germinate and begin to flourish, your seedlings should look healthy, with two or three sets of leaves on each stem. If more than one seed sprouts in a cell you’ll need to thinning out the others in the cell with it.
By using scissors you can snip out weak and crowded seedlings without damaging the strong plants. This gives the remaining plants more room to develop properly, without having their roots disturbed.
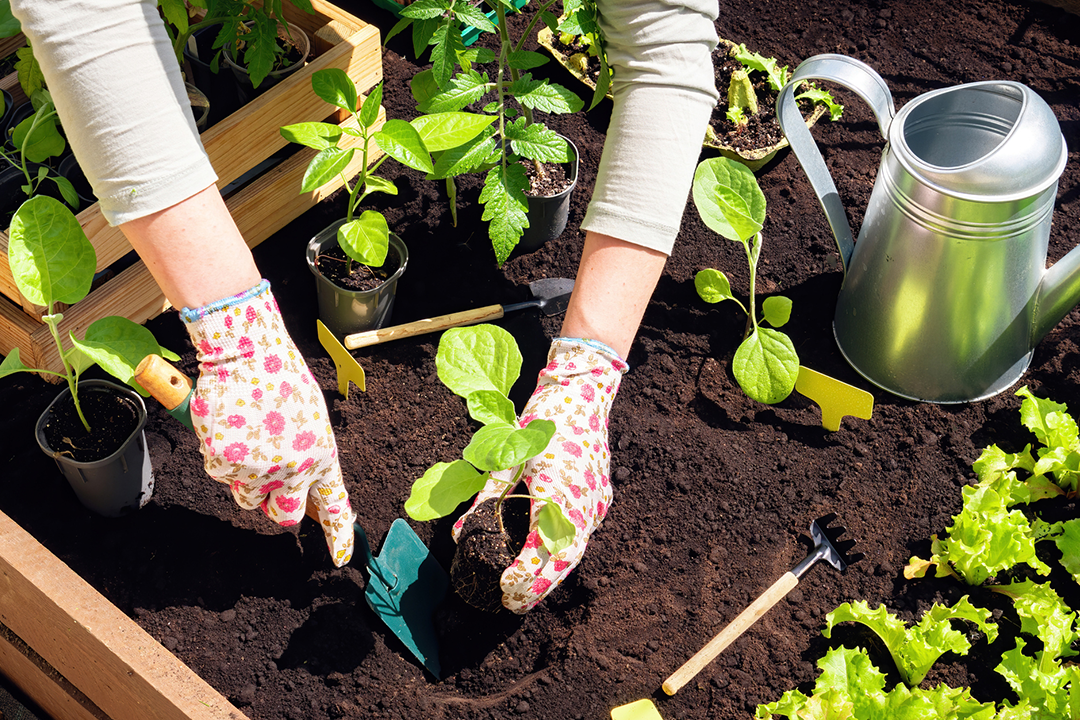
Step 6: Transplant Your Seedlings into Larger Pots
Once your seeds have germinated and you’ve thinned out the seedlings, you’ll need to consider transplanting seedlings to larger pots. If the weather conditions are still not suitable to plant seedlings outdoors, transplanting them into bigger pots can ensure your plants continue to grow and aids the roots develop more before they’re ready to be planted outdoors. If you don’t transplant seedlings into a pot it can stunt root growth and cause plants to become root bound.
Choose a pot that is at least twice as big as the original pot and fill it with fresh soil. Gently remove your seedling from its old pot by turning it upside down and tapping on the bottom of the pot until the root ball slips out. Place your seedling in the new pot and backfill around it with soil until it’s firmly in place. Water thoroughly after transplanting and make sure that there are enough drainage holes in the bottom of the new pot so that water doesn’t accumulate around your plant’s roots.
Step 7: Hardening off Potted Seedlings
When the weather is finally warmer, hardening off your plants is an important step you won’t want to miss. Hardening off is the process of gradually acclimating seedlings to outdoor conditions over a seven to fourteen-day period. This helps prevent transplant shock caused by sudden changes in temperature or light exposure when moving seedlings outdoors. It also gives young plants time to adjust and become more resistant to pests and diseases before being planted out in the garden.
When hardening off seedlings, start by moving them outside during the day and back inside at night for the first few days. Then gradually increase the amount of time they spend outside each day until they are eventually left outside overnight for several days in a row. Make sure that they are not exposed to harsh winds or direct sunlight during this process, as this can damage their delicate leaves and stems.
7 Steps to Growing Seedlings Indoors
During this time, ensure your seedlings are well-watered but not overwatered, as this can cause root rot or other problems with their development. Remember to check on them daily for signs of disease or pests, such as aphids or spider mites which may have been brought in from outside. If you notice any issues, treat them immediately with organic pest control methods like neem oil or insecticidal soap sprays. Once hardened, the seedlings can be safely planted outdoors.
Conclusion
Seed starting at home in Minnesota doesn’t have to be overwhelming. With a little preparation and care for your plants, you should have no problem creating a beautiful garden this summer. Starting plants from seed offers numerous benefits for beautifying their landscaping without breaking the bank.
By starting seeds indoors, you give them an extra fighting chance against the cold. However, if you wait until it’s warmer outside, feel free to plant them directly in the ground. What are you waiting for? Grab your gloves, roll up your sleeves—it’s time to get planting! If you have any questions about how you can incorporate your new seedling into your existing landscaping questions or if you should create a landscape design, give us a call today.
Looking for more information?
Call us today at 763-789-4788 to receive a free estimate on any of our property services.
Free Estimates
on all Services
Use the form below to request a free estimate on any of our services.